Settings & Branding
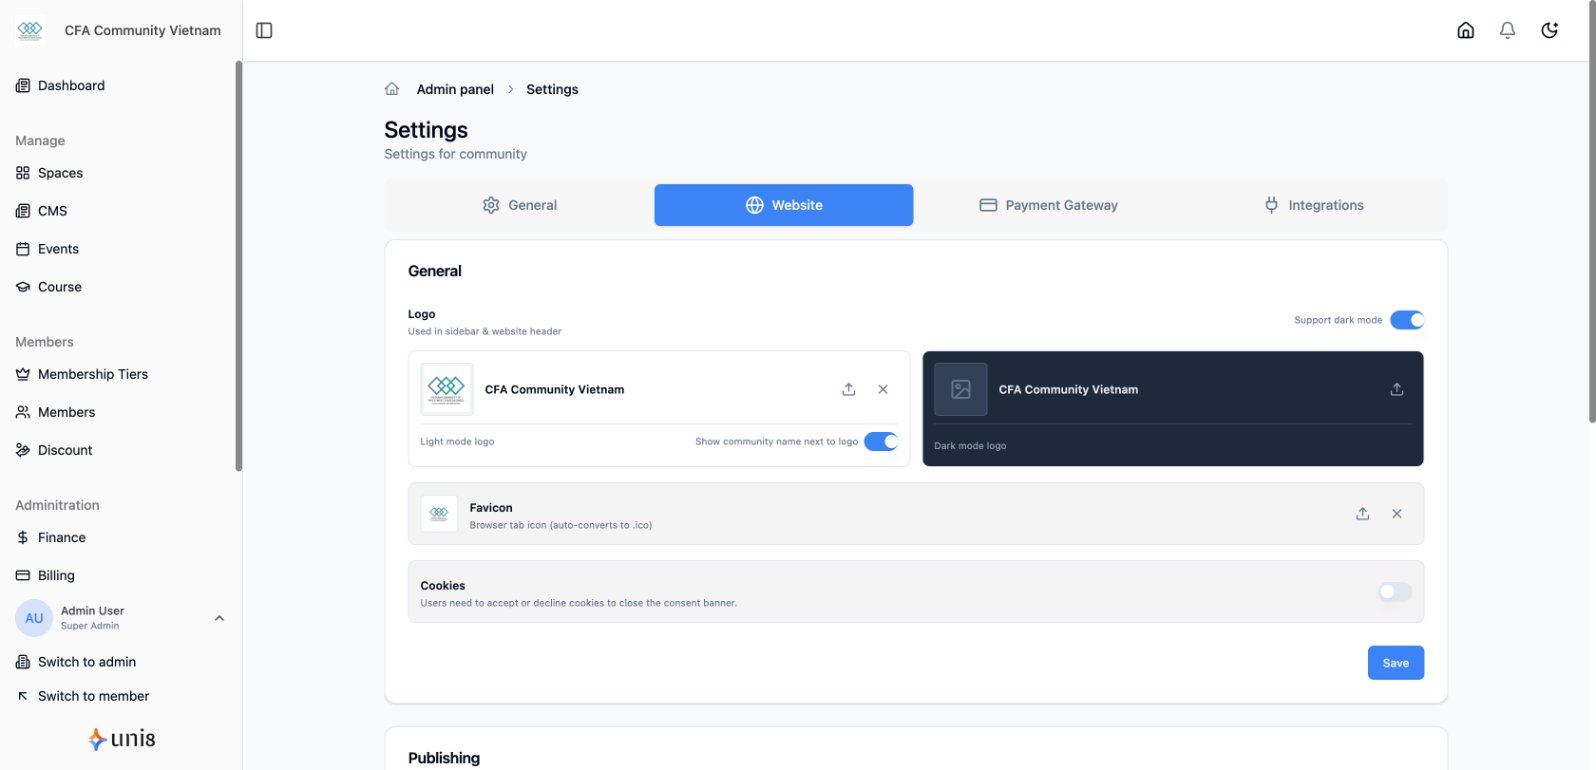
Configure your community's core settings and establish your brand identity.
Accessing Settings
- Go to Settings in the sidebar
- Navigate through different setting categories
General Settings
Community Information
| Setting | Description |
|---|---|
| Community Name | Your organization's name |
| Description | Brief description shown in search results |
| Category | Industry/niche for your community |
| Contact Email | Public contact address |
Privacy Settings
| Option | Effect |
|---|---|
| Public | Anyone can view content, searchable |
| Private | Invitation or approval required |
| Hidden | Not searchable, invite-only |
Branding
Logo
Upload your community logo:
- Go to Settings > Branding
- Click Upload Logo
- Recommended size: 200x200 pixels minimum
- Supported formats: PNG, JPG, SVG
- Click Save
Tips:
- Use transparent PNG for best results
- Square logos work best
- Keep it simple for mobile display
Favicon
The small icon shown in browser tabs:
- Go to Settings > Branding
- Click Upload Favicon
- Recommended size: 32x32 or 64x64 pixels
- Format: PNG or ICO
Color Scheme
Customize your brand colors:
| Color | Used For |
|---|---|
| Primary | Buttons, links, accents |
| Secondary | Secondary buttons, highlights |
| Background | Page backgrounds |
| Text | Body text color |
To change colors:
- Go to Settings > Branding
- Click on a color swatch
- Enter hex code or use color picker
- Preview changes
- Click Save
Typography
Customize fonts (if available on your plan):
| Setting | Options |
|---|---|
| Heading Font | Font for titles and headers |
| Body Font | Font for paragraph text |
Cover Images
Community Cover
Large banner image for your community:
- Go to Settings > Branding
- Click Upload Cover
- Recommended size: 1920x400 pixels
- Keep important content centered (mobile cropping)
Login Page
Customize the login/signup page appearance:
- Go to Settings > Login Page
- Upload background image
- Customize welcome text
- Add custom logo placement
Social Links
Add your social media profiles:
- Go to Settings > Social Links
- Enter URLs for each platform:
- Twitter/X
- YouTube
- TikTok
These appear in your footer and profile areas.
Email Branding
Customize transactional emails:
- Go to Settings > Email
- Configure:
- From Name - Your community name
- Reply-To - Where replies go
- Logo - Shown in email header
- Footer Text - Legal/contact info
Legal Pages
Required Pages
Set up your legal documents:
| Page | Purpose |
|---|---|
| Terms of Service | Rules for using your community |
| Privacy Policy | How you handle data |
| Refund Policy | Payment/refund terms |
Adding Legal Pages
- Go to Settings > Legal
- Click on the page type
- Paste or write your content
- Enable to display link in footer
- Click Save
Advanced Settings
Analytics
Connect tracking tools:
- Go to Settings > Integrations
- Add tracking codes:
- Google Analytics ID
- Facebook Pixel
- Custom scripts
Custom Code
Add custom code (advanced):
| Location | Use For |
|---|---|
| Head | Meta tags, tracking scripts |
| Body | Custom widgets, chat tools |
| CSS | Style overrides |
Best Practices
Branding Checklist
- Upload high-quality logo
- Set favicon
- Choose brand colors
- Add cover image
- Complete social links
- Set up email branding
- Add legal pages
Common Mistakes
| Mistake | Fix |
|---|---|
| Low-resolution logo | Use minimum 200x200px |
| Colors too similar | Ensure contrast between primary and background |
| Missing legal pages | Add terms and privacy policy |
Related Guides
Need help? Contact support@uni8.ai